How do I set up my AQUILA PRO AI router using the AQUILA PRO AI app?
If this is your first time using the AQUILA PRO AI app v2.0 or later versions, set up a Location where your Wi-Fi router will be placed, such as Home, Office, etc. Then, follow the instructions below to install your new router.
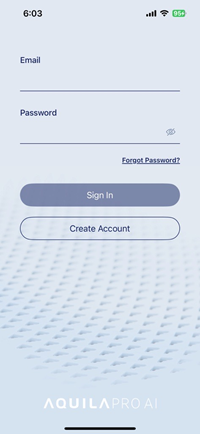
Step 1: Launch the AQUILA PRO AI app, and then log in with your D-Link account.
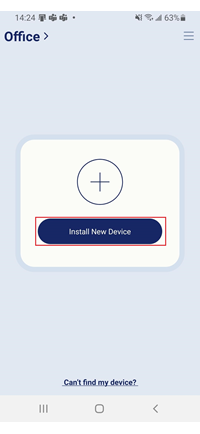
Step 2: Choose a Location for your new Wi-Fi router. By default, you have a default location.
Step 3: Tap Install New Device under the location where you would like to set up the Wi-Fi router.
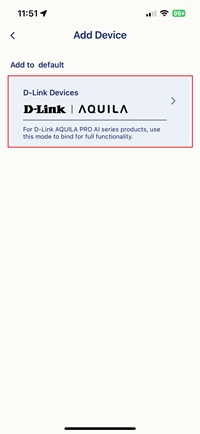
Step 4: Tap D-Link Devices
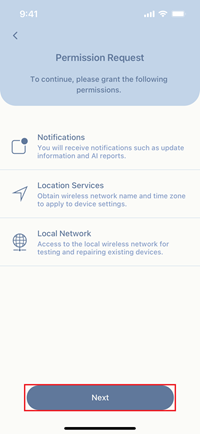
Step 5: You’ll be prompted to allow the app to use your mobile device’s Notification, Location and Local Network. Tap Next to continue.
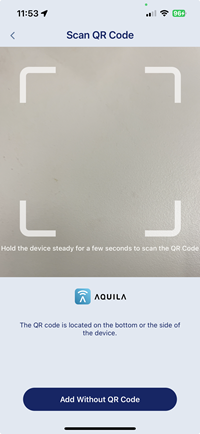
Step 6: Scan the QR code on your new device or tap Add Without QR Code to manually choose a model.
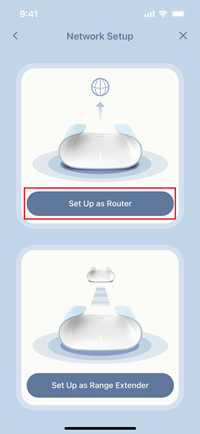
Step 7: Tap Set Up as Router.
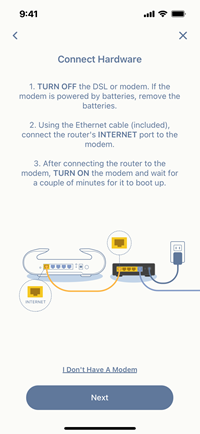
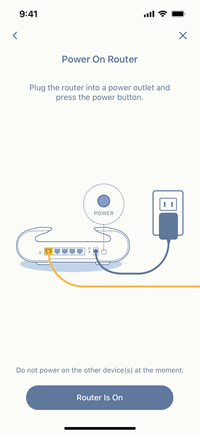
Step 8: Connect your hardware and power on the router.
Step 9: Wait till the Status LED turns Blinking Orange.

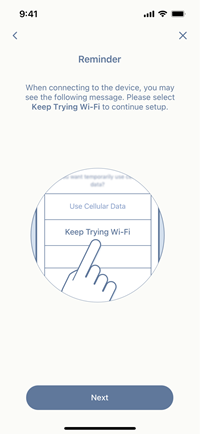
Step 10: Make sure your mobile device connects to the AQUILA PRO AI router’s default Wi-Fi network first. Then tap NEXT to continue.

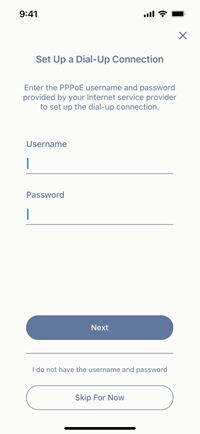
Step 11: Depending on your Internet connection type, enter your PPPoE username and password or tap Skip For Now to set up with the DHCP WAN connection type. Check with your ISP if you’re not sure which settings to use.
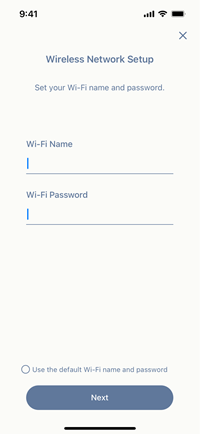
Step 12: Enter a Wi-Fi name (SSID) and password for your 2.4 GHz and 5 GHz Wi-Fi network. Then tap NEXT.
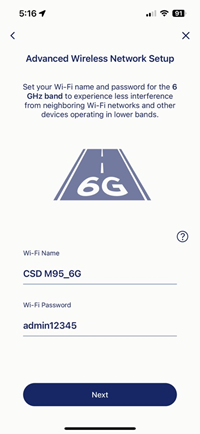
Step 13: When setting up a Wi-Fi 7 router, enter a Wi-Fi name and password for the 6 GHz Wi-Fi network. Skip this step if you’re not setting up a Wi-Fi 7 router.
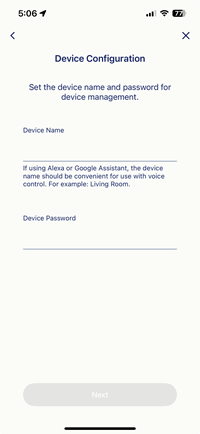
Step 14: Give your device a name and password. The device name will also be applied for the Amazon Alexa/Google Assistant voice commands.
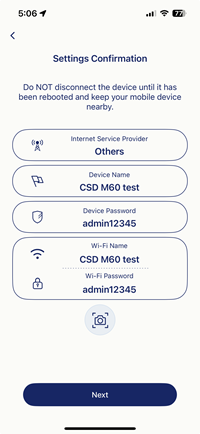
Step 15: Your settings display on the screen. Tap Next to save your settings.
Step 16: Your router is being added into your D-Link account. Once ready, you can access your router remotely without the need to connect to the router’s network.

Note: You can only add your router into your account when your router has the Internet connectivity.
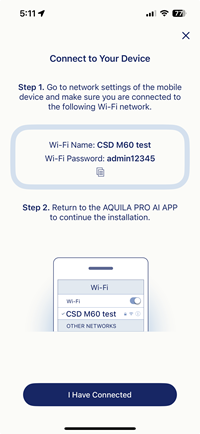
Step 17: Wait while the settings are being saved. Then, connect to the new Wi-Fi name you’ve just configured.
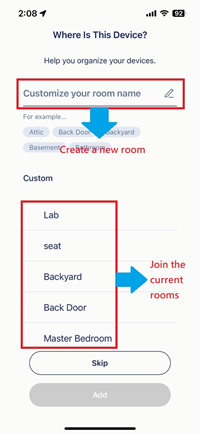
Step 18: Please choose where you would like to place your device. Or enter a new room for its placement.
Step 19: If you have another Mesh device in the box, simply power on the device and it will automatically pair with the router you’ve just configured. Skip this step if you don’t have any.

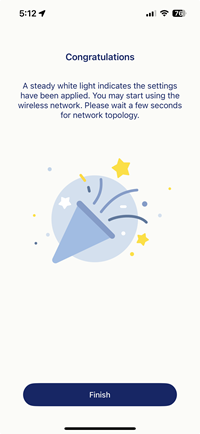
Step 20: Tap Finish to complete the setup. You can now manage your Wi-Fi router anytime and anywhere with the AQUILA PRO AI app.