How to Control Access to my DGS-1210 with ACL and MAC Addresses
Step 1 – Open a web browser and enter the IP of the switch. In this example we have used 192.168.1.248 then hit enter key.
![]()
The following screen should be displayed
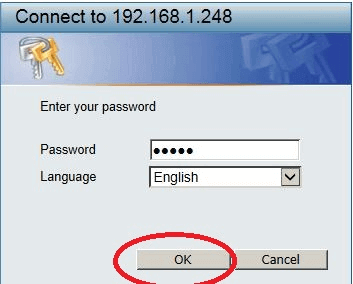
Enter the switch password then click on “Ok”
If in the case this is the first time or you have not yet selected “Don’t show Smart Wizard next time” you will get the following screen
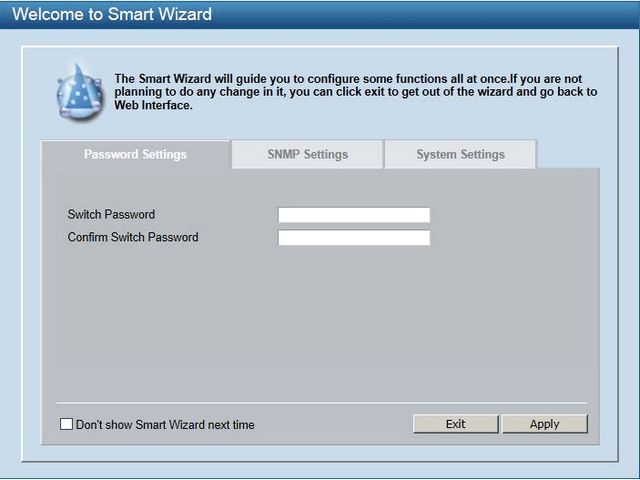
Here you can click on “Don’t show Smart Wizard next time” or just click on “Exit”
Step 2 – Create the profile to “ALLOW”
Once inside the web management page, click on “ACL” then “Access Profile List”
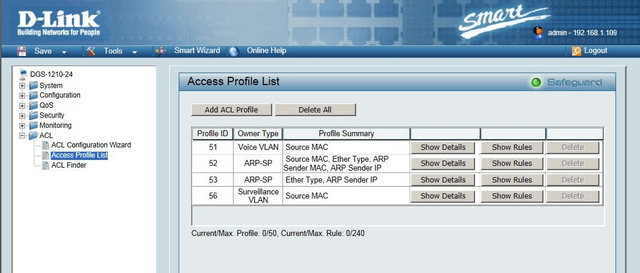
Step 3 – Click on “Add ACL Profile”
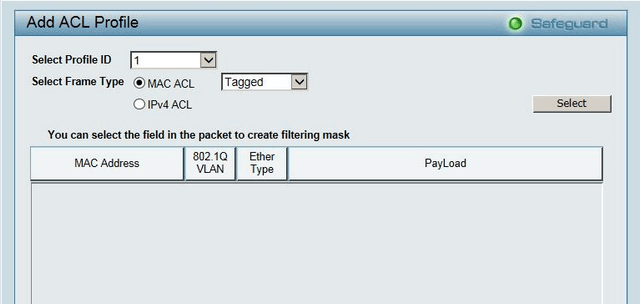
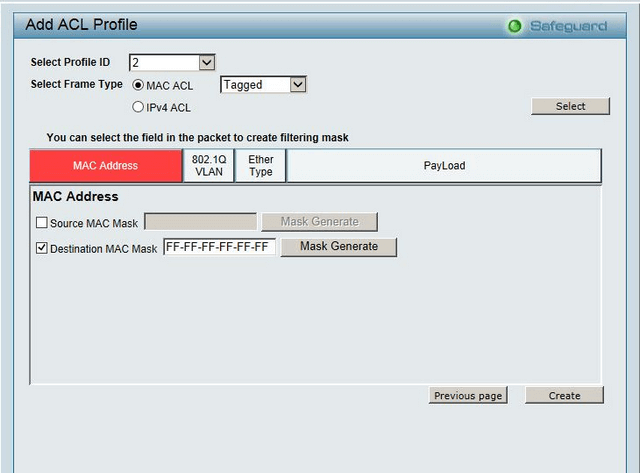
Then click on “MAC Address”
Select Profile ID: 1
Select Frame Type: MAC ACL – Tagged
Select Source MAC Mask: FF-FF-FF-FF-FF-FF
Click on “Create”
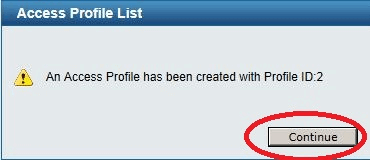
The above dialog will appear, just click on “Continue”
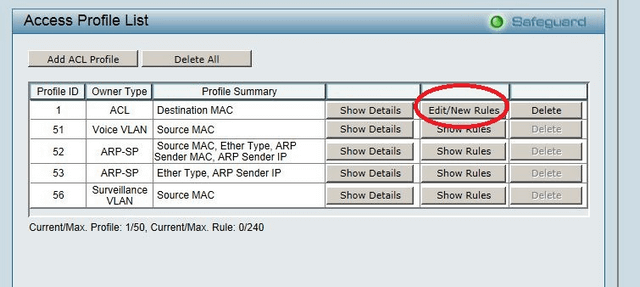
Step 4 – Select Profile1 and click on “Edit/New Rules”
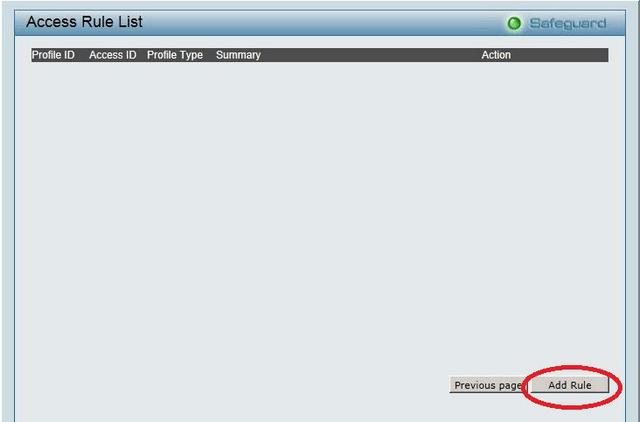
Here we want to add the MAC address which will be allowed access.
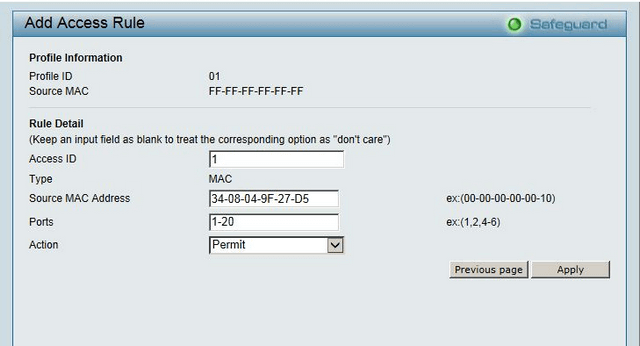
Access ID: 1
Source MAC Address: 34-08-04-9F-27-D5
Ports: 1-20
Action: Permit
Click on “Apply”
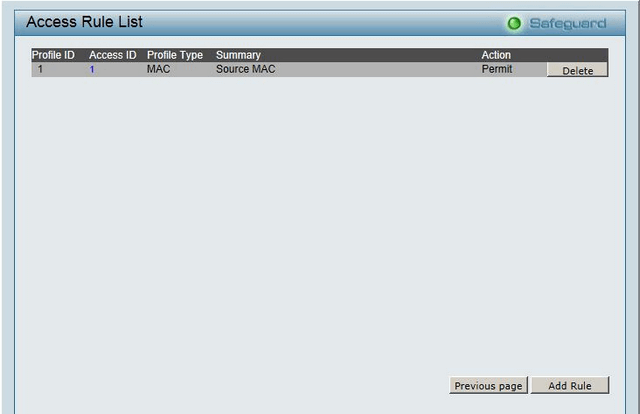
This is the “Profile ID which associates the MAC addresses you would like to Permit. To add more, just click on “Add Rule” and repeat the process.
When complete, click on “Previous page” to go back to Access Profile List.
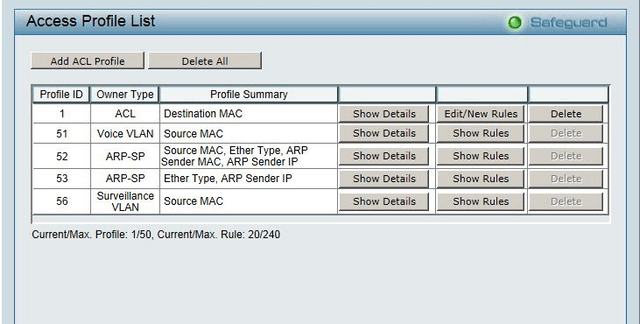
Step 5 – Click on “Add ACL Profile”
Select Profile ID: 2
Select Frame Type: MAC ACL – Tagged
Select Destination MAC Mask: FF-FF-FF-FF-FF-FF
Click on “Create”

The above dialog will appear, just click on “Continue”
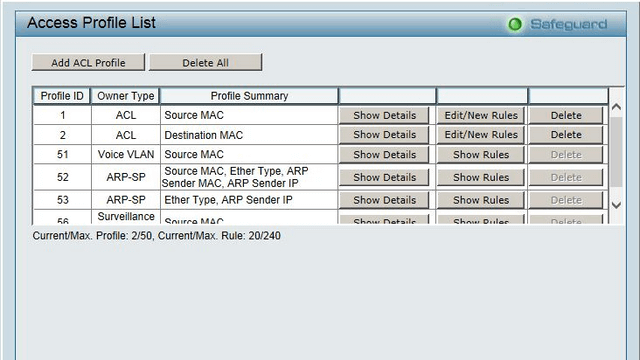
Step 6 – Click on “Profile ID 2” – Edit/New Rules
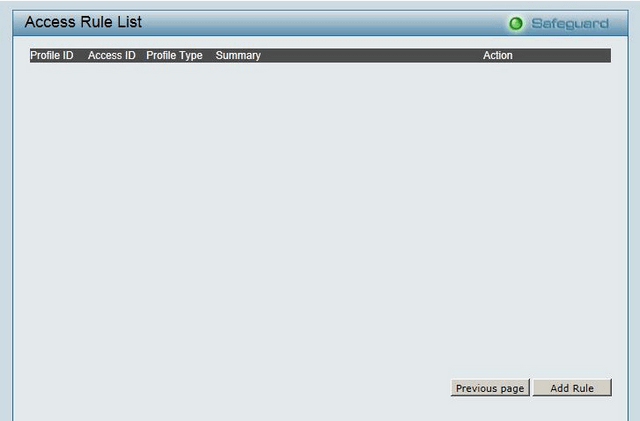
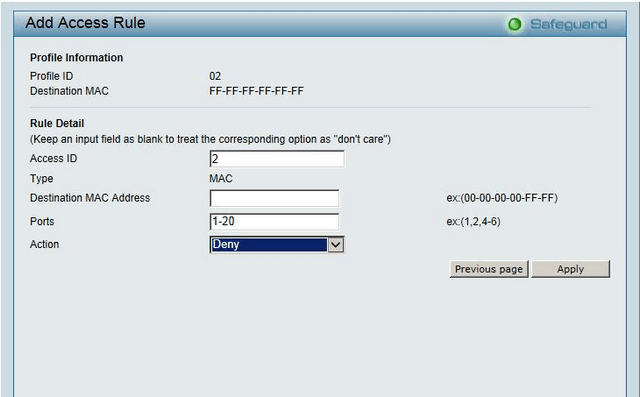
Select Profile ID: 2
Destination MAC Address: (Leave blank)
Ports: 1-20
Action: Deny
Click on “Apply”
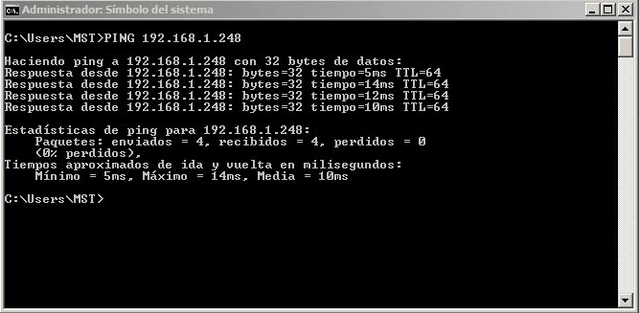
Step 7 – To test this, you can open a cmd.exe prompt and ping the IP from the MAC Address (Permitted)
Using this example, the IP of the switch was 192.168.1.248
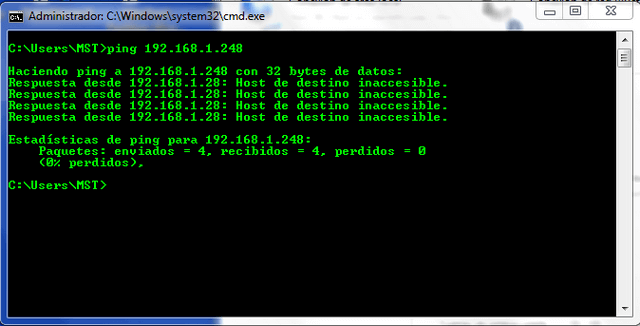
Repeat the above test on a PC that hasn’t been added to the “Permitted” rule.
Ceci peut également aider.
- $name Lire la réponse
- How to configure Asymmetric VLAN in DGS-1210 Series? Lire la réponse